
Table of Contents
- Why Testing Survival Gear Matters Before You Head Out
- Create Your Survival Gear Field Test Checklist
- Identify Common Survival Gear Failure Points
- Test Waterproofing and Environmental Durability
- Best Survival Tools for Beginners: Reliability Testing
- Simulate Real Emergency Scenarios
- Document Results and Perform Failure Analysis
- Maintenance and Ongoing Reliability Checks
Last Updated: August 28, 2026
Why Testing Survival Gear Matters Before You Head Out
Your gear is only as reliable as you’ve proven it to be. Most outdoor enthusiasts discover critical failures miles into a backcountry trip when replacement isn’t an option. Testing survival gear reliability before deployment isn’t optional preparation; it’s the difference between a controlled learning experience and a genuine emergency.
This guide walks you through systematic testing protocols that reveal exactly how your survival gear will behave when conditions matter most.
Create Your Survival Gear Field Test Checklist
A proper field test checklist transforms random gear inspection into a structured evaluation protocol. Before heading into the backcountry, you need documented baseline data on how each piece performs under controlled stress.
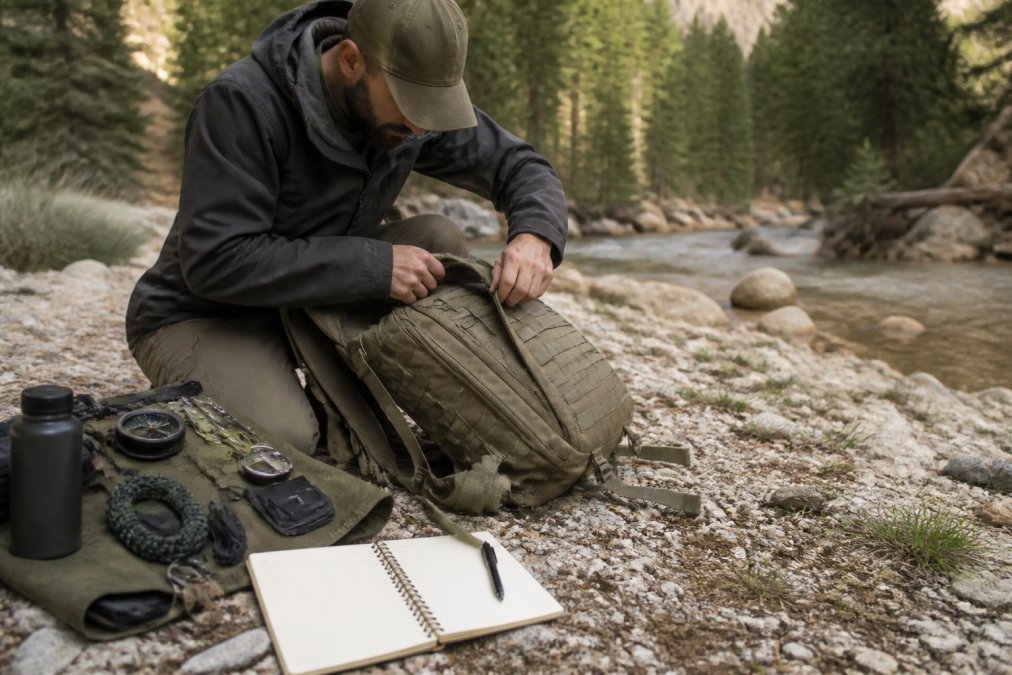
Pre-Field Inspection Protocol
Begin with visual and tactile assessment. Examine every seam under good lighting for gaps, loose stitching, or areas where threads are pulling. Run your fingers along stitched edges to feel for rough spots or separation. Check all zippers by sliding them fully open and closed multiple times; they should move smoothly without catching or grinding. Press on fasteners, buckles, and attachment points with meaningful force to confirm they don’t flex excessively or feel loose.
Document the baseline condition before any testing begins. Take photographs of seams, zippers, and closure mechanisms from multiple angles. Note any existing wear, discoloration, or manufacturing imperfections. Test the gear in its intended configuration, load a backpack with realistic weight, set up a shelter completely, operate a tool through its full range of motion.
Baseline Performance Recording
Create a simple data sheet for each piece of gear. Record the item name, manufacturer, model, purchase date, and intended use case. Note the weight, dimensions, and any relevant specifications. Photograph the item from multiple angles with consistent lighting.
Test basic functionality and document results. For a backpack, measure how weight distributes across shoulders and hips. For a knife, test edge retention by cutting through materials of known resistance. For a water filter, measure flow rate and note any resistance changes. Rate baseline performance on a simple scale: excellent, good, acceptable, or concerning. If anything rates as concerning before field use, address it immediately.
Identify Common Survival Gear Failure Points
Most gear failures cluster around predictable weak points. Understanding where failures typically occur lets you focus your testing on the vulnerabilities that matter most.
Seams and Stitching Vulnerabilities
Seams are stress concentration points. Thread diameter is typically 0.5-0.8 millimeters, while the material around it may be 1-2 millimeters thick (peer-reviewed research). When load concentrates at the seam, thread strength becomes the limiting factor.
Examine stitching pattern and thread density. Factory-stitched seams typically use 4-6 stitches per inch for general gear and 8-10 stitches per inch for high-stress applications (astm.org). Fewer stitches mean larger gaps where thread doesn’t exist, creating potential failure paths. Look for straight, even stitching; wavy or irregular patterns indicate machine calibration issues.
Test seam integrity by applying progressive stress perpendicular to the seam line. For a backpack strap, hang increasing weight until the seam shows signs of stress. Document the load at which stitching begins to show wear, thread fraying starts, or gaps appear between stitches.
Zippers, Fasteners, and Closures
Zippers are complex mechanical components with hundreds of interlocking parts. The slider must align perfectly with the teeth on both sides. Misalignment causes binding, incomplete closure, or teeth separation. Metal zippers are more durable than plastic but heavier. Plastic zippers are lighter but more prone to stripping and warping under UV exposure or heat.
Test zippers by operating them repeatedly, 50-200 times, while noting any changes in resistance, grinding sounds, or incomplete engagement. A good zipper should feel smooth throughout its entire range. Resistance that increases partway through indicates teeth misalignment or debris.
Fasteners like buckles, snaps, and velcro experience repeated stress cycles. Test buckles by applying lateral force and twisting stress. Test velcro by pressing and releasing it repeatedly while measuring holding strength with a scale.
Material Degradation Under Stress
Fabrics degrade through multiple mechanisms: UV damage, abrasion, flexing fatigue, and chemical exposure. Different materials degrade at different rates. Nylon loses strength faster than polyester when exposed to UV. Untreated cotton loses 15-20% of its dry strength when wet (peer-reviewed research).
Examine high-flex areas after use: backpack straps where they attach to the bag, tent corners where fabric bends sharply, tool handles where hands repeatedly grip. These areas show degradation first because stress concentrates during normal use.
Test Waterproofing and Environmental Durability
Waterproofing claims require verification. A "waterproof" rating without specification is meaningless.
Water Immersion and Submersion Tests
Start with the water beading test. Pour water onto the surface from a height of 6 inches. Water should bead up and roll off immediately. If water spreads out and soaks in, the waterproof coating is compromised.
Progress to the immersion test. Submerge the item in water for 5 minutes, then remove it and observe. Open any compartments and check for internal moisture. Repeat this test 3-5 times to simulate multiple water crossings or extended exposure.
For gear with compartments, fill them with dry material before immersion. After the test, check if the material inside absorbed water. This reveals whether seams or closures leaked under submersion.
Rain Simulation and Prolonged Exposure
Submersion differs from rain exposure. Rain falls at an angle, often with wind-driven force. Use a shower or garden hose to simulate rain. Direct water at the gear from multiple angles for 10-15 minutes. Check internal compartments periodically to see if water is penetrating.
Leave the gear exposed to weather overnight or during a full day of intermittent showers. This tests whether the waterproof treatment degrades under sustained moisture. Check internal condition the next day and document any water penetration.
Best Survival Tools for Beginners: Reliability Testing
Survival tools are only useful if they function when needed.
Testing Knives and Cutting Tools
A knife’s reliability depends on edge sharpness, handle security, and blade material durability. Test edge retention by cutting through consistent materials like cardboard, rope, or wood of known hardness. A quality knife should maintain a sharp edge for 50+ cuts through standard materials before requiring sharpening.
Test handle security by gripping the blade firmly and attempting to twist the handle relative to the blade. There should be no movement. Examine the blade for corrosion after exposure to moisture. Stainless steel resists rust better than carbon steel but typically holds an edge less well.
Fire-Starting Equipment Verification
Fire-starting tools must function when wet, cold, and under stress. For ferrocerium rods, strike them in dry conditions first to establish a baseline. Then wet the rod and striker completely and test again. A quality rod should produce sparks even when soaking wet.
Test waterproof matches by soaking them in water for 10 minutes, then drying them and attempting to ignite them. Test lighters in cold conditions by exposing them to temperatures below 40°F for several hours, then attempting to use them. Butane lighters often fail in cold; Zippo-style liquid fuel lighters perform better in temperature extremes.
Water Purification and Filtration Validation
Water purification reliability is life-critical. For filters, measure flow rate before and after use. Fill a container with unfiltered water and time how long it takes to filter one liter. Repeat after filtering several liters of muddy water to document the rate of degradation.
For chemical treatments, prepare test batches using water from different sources. Treat one batch and leave it untreated as a control. After the specified treatment time, compare clarity, odor, and taste. For boiling, confirm that your heat source can bring water to a rolling boil reliably in calm conditions and in wind.
Simulate Real Emergency Scenarios
Controlled testing in ideal conditions doesn’t reveal how gear performs under actual stress.
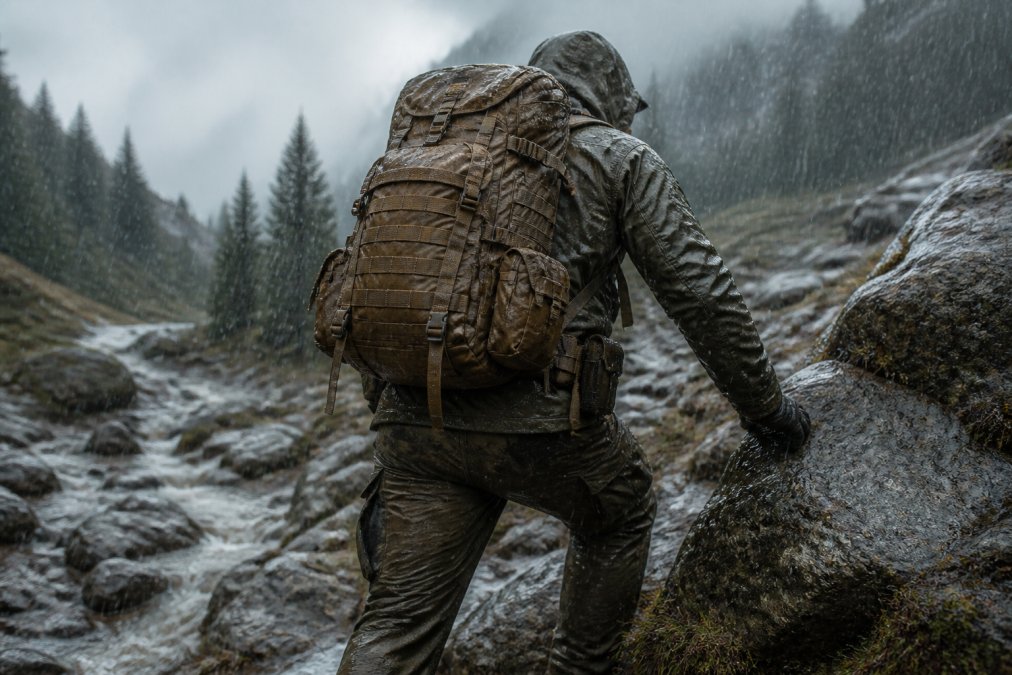
Extended Load-Bearing Tests
Load a backpack to the weight you’ll actually carry and hike for 8-10 miles over varied terrain. Include elevation gain if possible. This reveals whether straps stay comfortable, whether weight distribution is actually balanced, and whether seams or attachment points show stress.
Pay attention to hot spots where the pack rubs or creates pressure. A minor irritation in a 1-mile test becomes unbearable on a 15-mile day. After the hike, inspect the pack thoroughly and compare the condition to your baseline documentation.
Temperature Extremes and Weather Stress
Test gear in conditions that stress it most. For cold-weather gear, expose it to temperatures 20-30 degrees below your intended operating range for several hours. Cold makes materials brittle and reduces flexibility. Zippers become stiff. Document how performance changes.
For rain gear, wear it during actual rain for extended periods. Sweat will accumulate inside, this is realistic. Check whether the gear is breathable enough to prevent moisture buildup. For heat exposure, test gear under direct sun for several hours. Some materials degrade faster in UV.
Document Results and Perform Failure Analysis
Testing is only valuable if you document findings systematically.
Recording Performance Data
Create a simple table for each piece of gear. Include columns for test type, date, conditions, duration, observations, and pass/fail rating. Use consistent criteria so you can compare results over time.
| Test Type | Date | Conditions | Duration | Observations | Pass/Fail |
|---|---|---|---|---|---|
| Water immersion | 8/15/26 | Room temp, fresh water | 5 min | No leakage, seams dry | Pass |
| Rain simulation | 8/16/26 | Outdoor shower, 15 min | 15 min | Minor seepage at left corner | Conditional |
| Load bearing | 8/17/26 | 8 miles, 35 lbs, terrain | 3 hours | Right strap rubbed shoulder | Fail |
| Cold exposure | 8/20/26 | 15°F, 2 hours | 2 hours | Zipper stiff but functional | Pass |
Photograph gear after each test to create a visual record of degradation over time. Rate performance clearly: pass (gear performed as expected with no issues), conditional (gear worked but with minor issues), or fail (gear showed significant problems).
Post-Test Inspection and Wear Assessment
After each test, conduct a thorough inspection. Look for new damage, wear patterns, or areas showing stress. Compare current condition to baseline documentation.
Examine seams closely for loose threads or separating stitches. Check zippers and fasteners for new damage. Inspect material surfaces for abrasion, pilling, or discoloration. Document findings in detail with photographs if damage occurred.
Maintenance and Ongoing Reliability Checks
Gear reliability isn’t static. Regular maintenance and periodic checks ensure equipment remains dependable over time.
Establish a maintenance schedule. After each trip, inspect gear for damage and address any issues immediately. Clean gear according to manufacturer recommendations. Check critical components regularly, inspect zippers quarterly, test seams annually, verify waterproof coatings haven’t degraded.
Keep detailed records of maintenance performed, repairs made, and any issues identified. Before major trips, conduct a full pre-deployment inspection. Test critical functions and verify that all repairs from previous trips are holding.
Survival gear that fails in the field creates genuine danger. Before your next trip, invest time in systematic testing. Document baseline performance, identify vulnerabilities, simulate realistic conditions, and record results. This process transforms guesswork into confidence. When you’ve tested your gear thoroughly and addressed every weak point, you can focus on what matters most: the experience itself. Shop now with Adventurers Pulse for gear engineered to pass these tests and perform when it counts.
Frequently Asked Questions
Q: How do you perform a field test on a survival knife?
A: Start with a visual inspection for cracks, chips, or manufacturing defects. Test the edge by carefully slicing through rope or wood, the blade should cut cleanly without requiring excessive pressure. Check the handle for cracks and ensure the tang is secure by attempting slight twists. Test functionality in realistic conditions: cut branches, process wood, and prepare food. After each task, inspect for new damage. Document cutting performance, edge retention, and any handle issues before and after use.
Q: What are the most common points of failure in survival equipment?
A: Stitching and seams fail first under load, especially at stress points like backpack shoulder attachments and pack corners. Zippers and fasteners jam or break from dirt and repeated use. Waterproof coatings degrade from UV exposure and abrasion. Handles and straps tear or detach from heavy loads. Blade edges dull or chip from improper use or striking hard materials. Batteries in fire-starting tools corrode in damp conditions. Test each of these failure points specifically during your reliability testing to identify weaknesses before they matter.
Q: How often should you inspect your bug-out bag gear?
A: Inspect your complete kit every three months or before any major trip. After each field test or use, conduct a post-trip inspection within 48 hours while issues are still visible. Check for moisture damage, mud, or debris that could cause corrosion or degradation. Verify battery condition in fire-starting tools, test water filter flow rates, and inspect all seams and fasteners for new damage. Document findings in a maintenance log so you can track wear patterns and predict when replacement is needed.
Q: What's the best way to break in new survival gear before relying on it?
A: Start with short day trips on local trails to test basic functionality and comfort without high stakes. Progress to overnight camping trips where you use all gear components in realistic conditions. Expose equipment to varied weather, rain, wind, temperature swings, to reveal weaknesses early. Test critical items like water filters, fire starters, and shelter in controlled settings first. Keep detailed notes on performance, comfort issues, and any failures. This graduated approach identifies problems you can address before depending on gear in genuine emergencies.
This article was written using GrandRanker



0 Comments